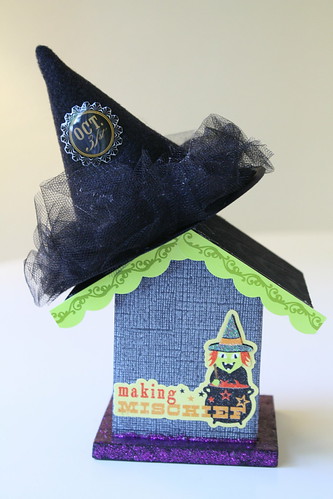
You'll need some felt, tulle and thin cardboard. The size of the witch hat you'll be making determines how much of each you'll need. For this hat (only 4 inches tall), I only needed a small piece of a felt sheet and a 2 1/2 inch strip of tulle. For small hats, I usually use the cardboard from cereal or kleenex boxes - for larger boxes I have used poster board or even foam core.
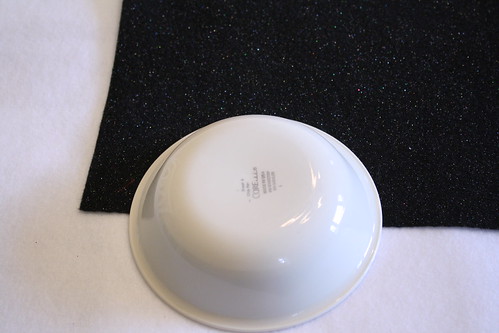
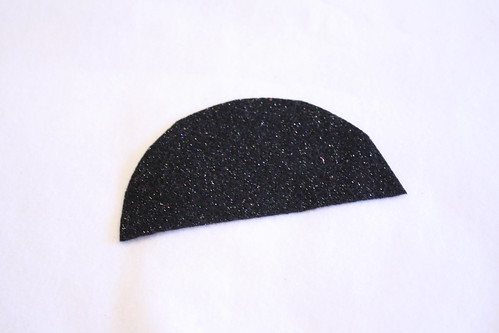
Mark off a 1/2 circle, in your desired size, on the felt
And cut out
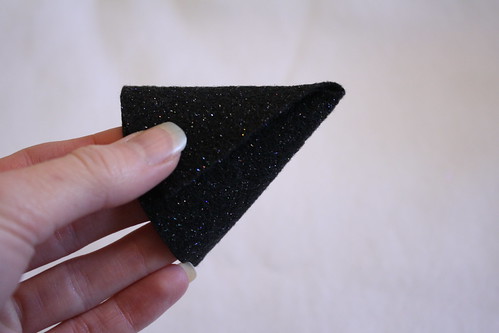
Roll the 1/2 circle into a cone shape and dot with hot glue to adhere
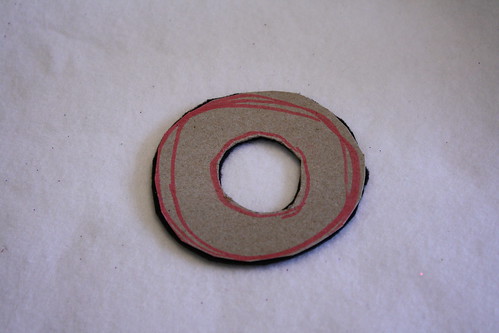
To make the hat brim, place your cone shape on the cardboard and eyeball your preferred brim size. Draw a circle to mark the edge of the brim as well as tracing the circumference of the cone.
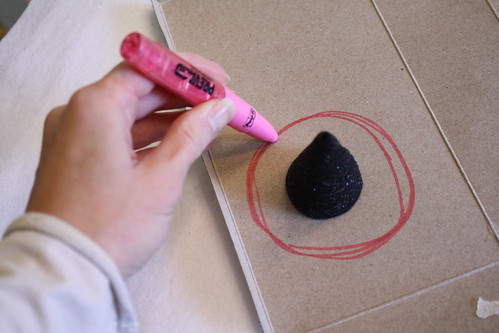
Cut out the brim and the shape of the cone, careful to cut slightly smaller than the trace line.
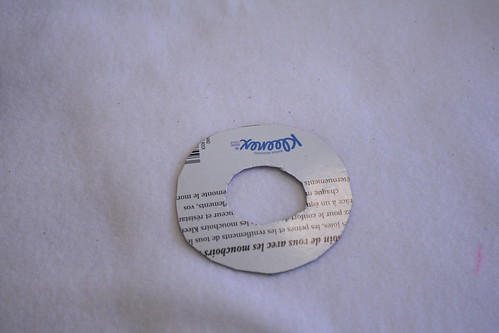
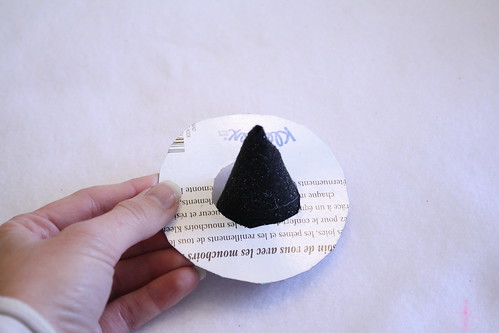
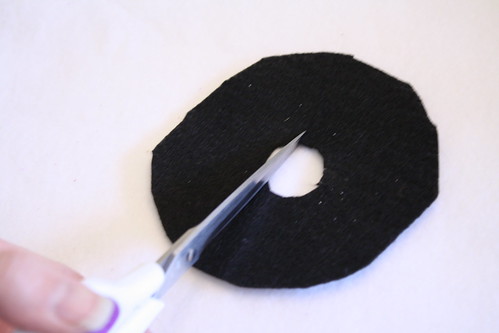
Once cut, check the brim size by slipping it over the cone. It should stop just short of the bottom of the cone.
To cover the brim, cut out two pieces of felt.
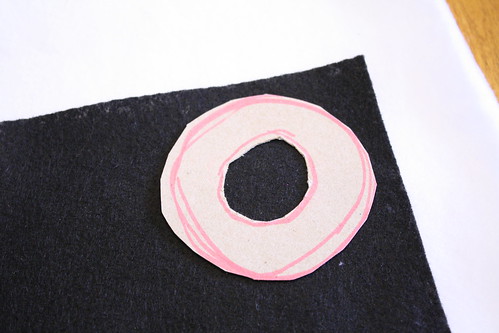
Cut the first larger than the brim

And the second to fit
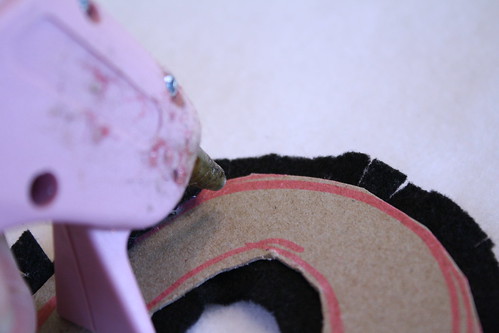
Cut slits along the outside and interior of the larger piece
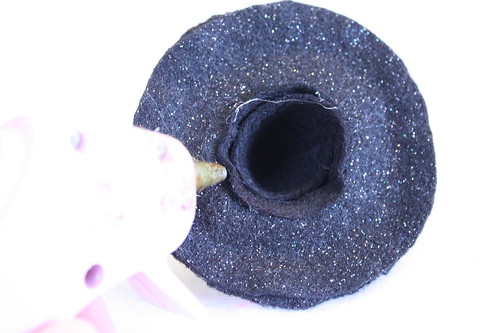
Using your hot glue, adhere the felt around the brim
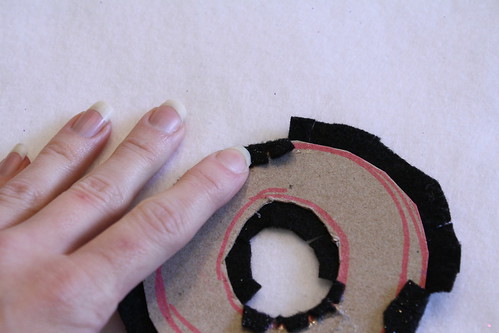
Flip over and adhere the sized piece of felt to cover the raw edges

Slide the brim over the cone to form a hat.
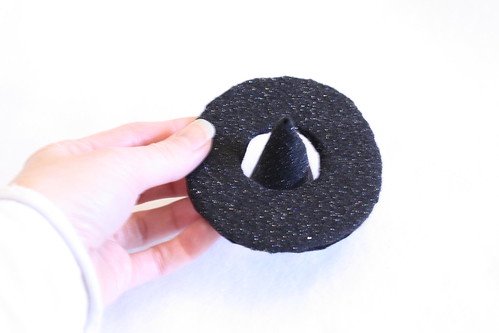
I usually add a few dots of hot glue to tack the brim in place
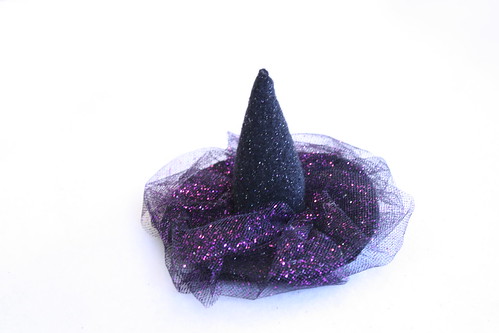
At this point, the hat could be done - but I like to dress it up with a little bit of tulle puffed around the brim
To add the tulle, start by gluing one end of your tulle strip to the underside of the brim, where it meets the cone
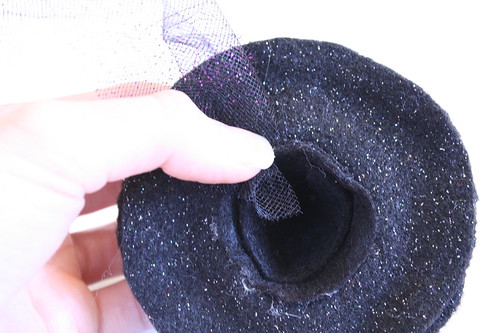
Bring the tulle up and over the brim, fluff as desired, and tack in place with another dot of hot glue
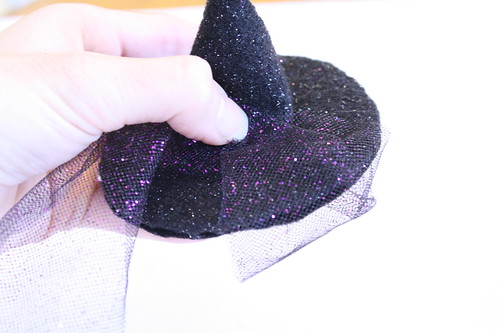
From there it's just a back and forth tacking the tulle to the underside of the brim and then back onto the top of the brim, fluffing as you go.
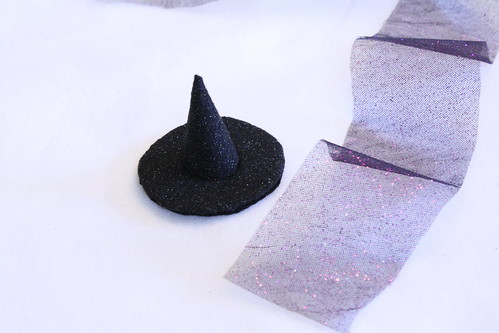
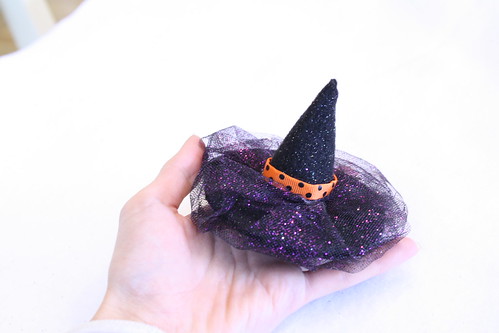
And finally, I topped this hat off with a polka dot piece of ribbon as a hat band
This tute was pretty step intensive, but it goes very quickly - especially if your making them assembly line.
24 comments:
I love this Witch Hat. I have everything you need to make it at home. I am going to make a few today. Thanks for sharing.
This is adorable and JUST what I need! I will be making 8 of these for a tablescape! Thanks so much!!!!!! XO, Pinky
Oh, this is just too cute!
I love this! What a great size and you make the directions so easy! Thanks for sharing!
Visiting from Inspiration Friday : )
Crazy cute! Thanks for sharing and for all the helpful step-outs.
LOVE this!! I made a mini Leprechaun Hat out of a dixie cup for my mantel in March. This little witch hat is calling my name : ) I'm going to add this to my Fall Pin Board!
Jaimee @ craft-interrupted.blogspot.com
Love these! Your instructions are perfect. These would make the perfect decoration and accessory for any Halloween party. I'd love for you to link up to my party if you have a moment. http://www.momontimeout.com/2011/10/taking-timeout-thursday-link-party-no-1.html
So cute and tiny! I love it :)
Cute! My daughter will love these! Lorie @ Reading Confetti
This is so adorable! Your instructions are great!!!
I am in love with these adorable little witch hats!! very creative!!
I cannot make a cone hat for nothing! I'm going to try again! Thanks so much for the tutorial!
so fun..thanks for the tutorial:)
http://jaysonandashley.blogspot.com/
Very cute craft! Thanks for the detailed tutorial :)
Great job! So simple and adorable!!
Adorable. I would love for you to stop by and link up your mini hat to More the Merrier Monday. It lasts through Wednesday so you have plenty of time to link up. I also have a link party for Halloween projects only at http://diyhshp.blogspot.com/2011/09/trick-or-treat-link-party.html that I would love for you to link up to as well.
http://diyhshp.blogspot.com
It's brilliant! It might be just the thing for my mini-dachshund. :-)
Wow, those are sooo very cute.
Seriously cute! Great tutorial. Visiting from TT&J :) I would love for you to link this up to my fashion party! It's called DIY Diva Thursdays and we party Th-M every week. Hope to see you!
Kara
www.mineforthemaking.com
Totally adorable! Thank you for linking up and I will be featuring you on this weeks Amaze Me Monday :D
love your idea. Just wanted to let you know that I have mentioned it on my blog www.eatcraftsow.blogspot.com . Please let me know if there is anyting you wish for me to remove. Cheers
Jennifer
I wish I had seen this sooner. I think my customers would like to make these for their dolls. Filing away for next year.
So cute and simple!!!!!! Thank you SO much for sharing! I love it!
Jaime from crafty scrappy happy
Thanks for the super easy tutorial. I made these to decorate with my nephews and niece and put the link on my DIY blog http://angelbritesdiy.blogspot.com/2012/10/witch-hat.html. Let me know if you'd like me to take it down
Post a Comment